Как установить веб-сервер Apache на Debian 11
В этом руководстве мы покажем вам, как установить веб-сервер Apache на Debian 11. Для тех из вас, кто не знал, Apache — это широко используемый веб-сервер с открытым исходным кодом, также называемый HTTP-сервером Apache. Это бесплатный кроссплатформенный веб-сервер, который поддерживается различными операционными системами, включая Microsoft Windows, Linux, macOS и многие другие. Разработчики предпочитают Apache за его скорость, безопасность, надежность, надежность и простоту настройки. Кроме того, Apache может удовлетворить потребности многих сред, поскольку позволяет устанавливать различные расширения и модули.
В этой статье предполагается, что у вас есть хотя бы базовые знания Linux, вы знаете, как использовать оболочку, и, что наиболее важно, вы размещаете свой сайт на собственном VPS. Установка довольно проста и предполагает, что вы работаете с учетной записью root, в противном случае вам может потребоваться добавить ‘ sudo ‘ к командам для получения привилегий root. Я покажу вам пошаговую установку веб-сервера Apache на Debian 11 (Bullseye).
Установите веб-сервер Apache на Debian 11 Bullseye
Шаг 1. Перед установкой любого программного обеспечения важно убедиться, что ваша система обновлена, выполнив следующие apt команды в терминале:
Шаг 2. Установка веб-сервера Apache в Debian 11.
Просто веселое видео для отвлечения и расслабления в течение 2 минут
Теперь мы устанавливаем веб-сервер Apache в системе Debian, выполнив следующую команду ниже:
Подтвердите сборку и версию Apache:
Перед началом настройки убедитесь, что в вашей системе запущены службы Apache. Выполните следующую команду, чтобы проверить статус служб apache:
В корневом каталоге документов HTTP-сервера Apache по умолчанию вы будете размещать HTML-файлы, а основной файл конфигурации — это . Дополнительные файлы конфигурации находятся в каталоге. /var/ www / html / /etc/ apache2 / apache2 . conf /etc/ apache2
Шаг 3. Настройте брандмауэр.
Разрешите доступ к порту 80 на брандмауэре, выполнив следующую команду:
Шаг 4. Доступ к веб-серверу Apache.
После успешной установки вы сможете просматривать тестовую веб-страницу Apache через свой веб-браузер.
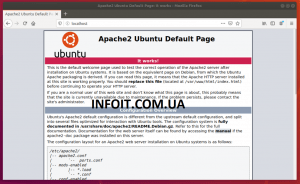
Поздравляю! Вы успешно установили Apache . Благодарим за использование этого руководства для установки последней версии веб-сервера Apache на Debian 11 Bullseye. Для получения дополнительной помощи или полезной информации мы рекомендуем вам посетить официальный сайт Apache .
Install Apache HTTP Server on Debian 11
This guide serves as quick demo on how to install Apache HTTP server on Debian 11. Apache is the number one HTTP server on the Internet for modern operating systems including UNIX and Windows. Apache provides a secure, efficient and extensible server that provides HTTP services in sync with the current HTTP standards.
Install Apache HTTP Server on Debian 11
To install Apache HTTP server on Debian 11;
Run system Update
Ensure your system package cache is up-to-date by executing the commands below;
Install Apache HTTP Server on Debian 11
Apache is available on the default Debian 11 repositories/sources lists.
Thus, the installation can be easily done by running the command below;
Running Apache Service
Once the command above completes, Apache should now be installed on your Debian 11 server.
When installed, it is started automatically;
Also, it is enabled to run on system boot;
If for some reason it is not started nor enabled to run on boot, simply run the command below to start and enable it to run on system boot;
You can restart or reload Apache2 service by running the commands below, respectively;
Accessing Apache Web Pages
You can access Apache web pages via the address http://server-IP-or-domain . By default, you will be served with a default Apache web page;

If you want to restrict access to various services running on your Debian 11 server, simply install UFW.
Enable UFW. Before you can do this, ensure that you allow the IP from which you SSHed from;
Next, Open Apache ports on firewall;
Creating a Simple Apache Web Page
You can now create your custom pages and virtual hosts to define how these pages are served.
For example, to serve a simple html page, create your site configuration for that page;
Create your page on the Apache DocumentRoot directory. You can run the command below to create a simple HTML page;
How to Install and Secure Apache on Debian11
Apache HTTP web server is one of the widely used web servers especially on Linux distributions which is a free, cross-platform used by a vast number of websites on the internet. Apache webserver uses HTTP to process the request and entertain web information. Apache has tons of useful features and its functionality can be enhanced with extra modules. It also allows programmers to publish their work on the internet.
So, in this article, we will discuss the installation of the Apache web server and how to secure it after installation on Debian 11.
Requirements
Before installation, you must be logged into the Debian System with access to all sudo privileges. We also recommend completing the initial server setup on newly install Debian 11 systems.
Step 1 – Installing Apache on Debian
The latest version of Apache packages is available under the default Debian 11 repository. So we can directly install it using the packages manager.
After login, open the terminal and update apt cache by below mentioned command:
After updating of apt cache, now install the Apache2 on your Debian 11 Bullseye by the command:
Press “y” for any confirmation prompted by the installer.
Once the installation process completed. Verify the installed Apache version by running the following command:
Another way to verify the installation of Apache is by accessing the Apache2 default page using your Server’s IP Address or hostname. If you don’t know your hostname then run the below-mentioned command first:
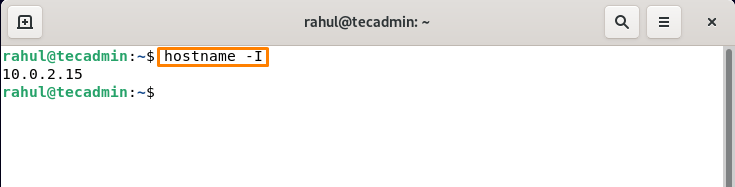
Check IP Address of Local System
Enter your Server’s hostname or IP address in the URL bar of the browser and press Enter, Apache2 Debian Default page will open as shown below:
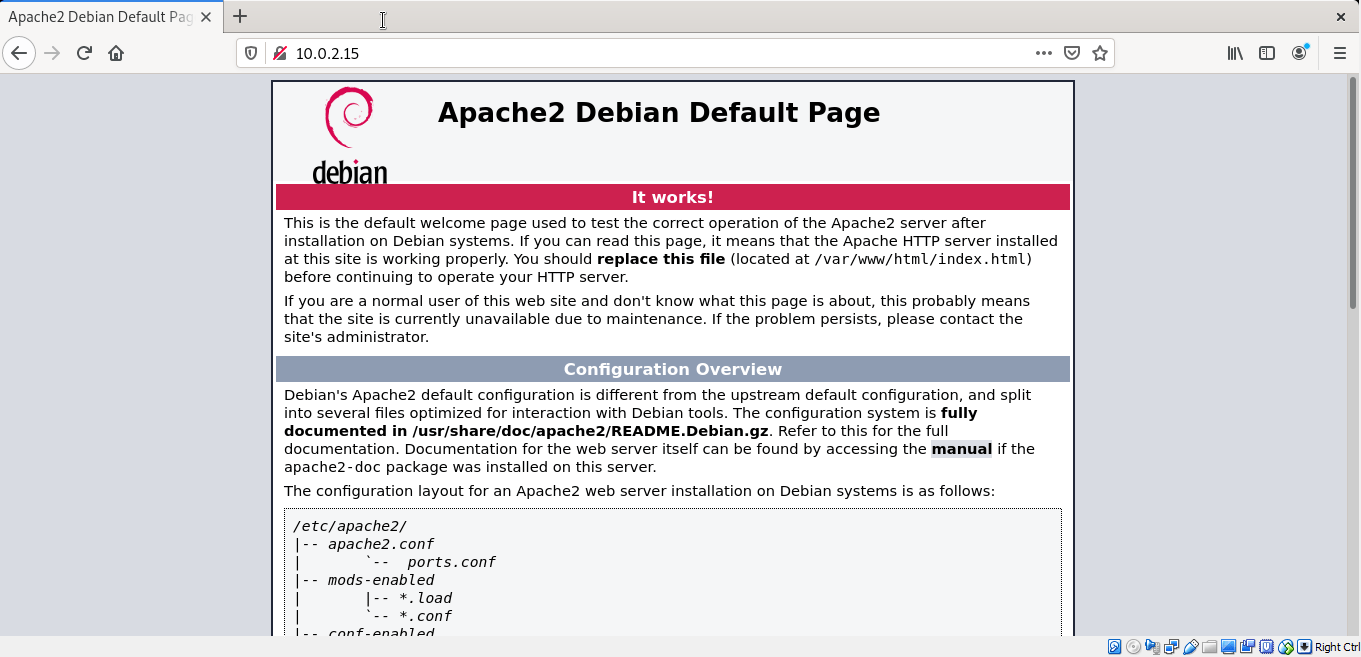
Apache default page on Debian 11
Step 2 – Managing the Apache Service
After successful installation, Apache service can be managed using “systemctl” commands, run the below-mentioned command to check the status of the server:
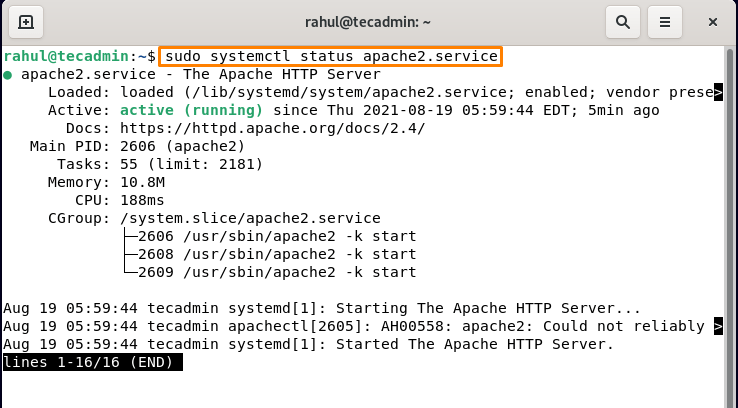
Check Apache Service Status on Debian 11
Press “q” to quit. Few commands to manage Apache Service in Debian 11 are:
To start the server use the command:
Similarly, to stop service, replace start with a stop in the above command:
The service can be restarted using:
Step 3 – Configuring Firewall Settings
If your system has a firewall, you’ll need to authorize access to certain web ports so that external users can utilize them. Run the below-mentioneds command to allow port 80 (HTTP) and 443 (HTTPS) in the Debian terminal:
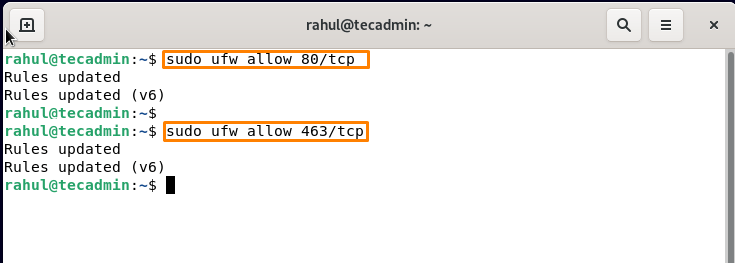
Allow HTTP and HTTPS port in UFW
Now verify by checking the status:
if it is not active, to enable its to use:
Step 4 – Creating Virtual Host in Apache
In Apache, virtual hosts allow you to operate numerous websites on a single server. In the Apache web server, we’ll create a virtual host. To accomplish it, we’ll first create a website called sample.com with the server block that comes standard with Apache.
Let’s start by setting up your Apache server’s first virtual host. We’ll use the sample domain as “sample.com”, but you can name it according to your preference:
Now change the permissions and owner by below-mentioned command:
Running below-mentioned command, to test our testdomain.info site, we’ll now construct an example index page. To accomplish so, we’ll use the nano editor to generate an HTML file that looks like this:
Insert the below mentioned content into index page and press Ctrl+O to save the file an Ctrl+X to exit the file and return to terminal:
How to Install and Secure Apache on Debian11
Having a web server like Apache is a great starting point for getting started with web technology on Linux. So, in this post, you will learn how to install and secure Apache on Debian 11 and get it ready for the work you need to do with it.
Introducing to Apache webserver
According to the Apache Web server site
The Apache HTTP Server Project is a collaborative software development effort aimed at creating a robust, commercial-grade, featureful, and freely available source code implementation of an HTTP (Web) server.
We often talk about Apache webserver but the program itself is called httpd , however, we will continue to use the term Apache Web Server to refer to it.
Apache Web server is one of the most popular web servers out there along with Nginx and others. Now the next question is what is a Web Server?
A web server is a computer program that is responsible for processing a server-side application. The web server waits for a browser to make a request, such as accessing a web page and responds to the request by sending HTML code via a network data transfer.
- Use the .htaccess file to configure whatever you want.
- It is one of the web servers with more years in the market, super reliable.
Apache can be customized, its structure is based on modules. - It allows you to activate and deactivate functionalities.
- OpenSource so we can examine the source code and its functionalities.
So, let’s go for it.
Install and Secure Apache on Debian 11
Apache Web Server is available from the official repositories. So, first of all, we have to open a terminal or connect via SSH to the server
And you can install Apache Web Server by running the following command
This will install the Apache Web Server from the official repositories along with its dependencies.
Also, you can search for Apache related packages in the official repositories as follows
So, now Apache Web Server is installed on the system.
Setting the Firewall for Apache Web Server
Like almost any web server, Apache runs on ports 80 and 443 in the case of HTTPS. So we need to make some changes to the firewall.
So, to open these ports, you can run
This is at the system level but if you have other firewalls protecting your server, you have to open those ports on it.
This way, the server will now allow requests on those ports and Apache will work. So, open your browser and go to http://your-server-IP or http://your-domain and you will see this: Apache web server on Debian 11
Working with the Apache Web Server service on Debian 11
Apache web server is managed through a system service. This means that we have to use the systemctl command to start or manage it.
So, if you want to start it you have to run
To stop it, just run
In case you make changes to the Apache configuration, you will have to restart Apache for these changes to take effect.
Also, it is a good idea to check the status of the service to see if Apache is working properly.
So the operation of the service is similar to other services like MariaDB.
Secure Apache webserver
One of the fastest and most efficient ways to secure an Apache installation is to modify the /etc/apache2/conf-enabled/security.conf file and add certain parameters.
So, create a backup of this file before editing it
And now you can edit it
And add the following content. If there are items already in the file just update it.
Save the changes and close the file.
We have to modify another file called /etc/apache2/mods-enabled/ssl.conf with which we can define other features that allow us to increase the security of Apache.
Again, back up the file first
And add the following
Save the changes and restart apache to apply them.
Now Apache is ready to use.
Apache Web Server is one of the most popular web applications and proof of this is that almost 40% of all websites are hosted with Apache. In addition to this, it is quite flexible and easy to implement configurations.
So, what do you think of Apache and its web server? Leave us a comment and help us grow.