Двухфакторная авторизация для PHP с использованием приложения Google Authenticator
Двухфакторная авторизация используется для повышения защиты аккаунтов пользователей от несанкционированного доступа. Множество людей используют одни и те же связки логин-пароль для доступа к разным сайтам, и это может быть использовано злоумышленниками.
Включение двухфакторной авторизации на нашем сайте приведет к тому, что то при каждом новом входе система будет дополнительно запрашивать у пользователя динамический 6-значный код. Таким образом злоумышленник, завладевший логином и паролем пользователя, не сможет получить доступ к этому аккаунту.
Динамический код может быть получен разными способами, в данном случае мы рассмотрим использование программы Google Authenticator. Для добавления двухфакторной авторизации на сайт нам потребуется библиотека GoogleAuthenticator.php (автор Christian Stocker).
Пошаговая инструкция
-
Добавляем библиотеку в наш проект (нужны только 2 файла из дистрибутива).
Также потребуется вывести QR-code -это позволит легко добавить ключ для нашего сайта в программу Google Authenticator.
Разумным решением также является ввод проверочного кода, это служит сигналом что пользователь успешно установил программу и для него можно включать второй фактор авторизации.
Для показа QR-кода можно воспользоваться методом getUrl класса GoogleAuthenticator.
Либо собрать адрес картинки самостоятельно.
Переменная $code должна соответствовать введенному пользователем в форму входа.
Эти несложные действия позволят повысить безопасность посетителей нашего сайта.
Programster’s Blog
Tutorials focusing on Linux, programming, and open-source
Setting Up Google 2FA on PHP
There are actually quite a few packages for implementing two-factor-authentication in PHP but I am going to be using pragmarx/google2fa for this tutorial, simply because it has 6.26 million installs at the time of writing this tutorial. That doesn’t necessarily mean its great, but it’s a good rule of thumb.
This tutorial will focus on just adding support for 2FA in PHP. This could be for either a website, or a CLI utility. It makes no difference.
Steps
First we need to install the package, which is as easy as:
Then we can make use of it to generate a secret for our user(s).
Now you have a secret for our user(s), they can feed it into their Google authenticator application.
Now when that user wishes to authenticate, the application needs to do the following:
Taking It Further With QR Codes
The biggest problem with the solution above is that $google2fa->generateSecretKey() generates a long string that is tedious to enter into a phone manually. To get around this, we can expose a QR code to the user to make it easier to add to the authenticator application.
Install Package
First we need to install our QR code generator package.
Generate QR Code
Debugging
If you get the message:
Then you just need to make sure to install the php8.0-imagick package.
Conclusion
You should now have enough to get started with setting up 2FA in your application. This tutorial was aimed at getting you started quickly, but you may wish to read up on how you can take it further by:
How to Implement Two Factor Authentication (2FA) in PHP
2FA or Two Factor Authentication is a way of adding additional security to your account. The first “factor” is your usual password that is standard for an account, the second is a code retrieved from an external device such as a smartphone, or a program on your computer.
As you visit, there are various reasons why They are expected to make a bid to come up with You can send them a draft, and then the next time you see they will give you a report It is possible to look for an efficient study paper writing service by performing a search for one affordable-papers.net that charges a lower rate of cash.
on the material you have provided. creative suggestions which will assist their readers to find something. you need to buy essays online.
In simple words, when you log in to your account using your password and username or email, an extra security code is asked; i.e. a piece of private information which only and only you should know.
Lots of users, clients demand this type of service on their website. PayPal, Facebook, eBay, Yahoo, and many other websites support two-factor authentication nowadays.
Where to start?
The easiest and the fastest way to enable Two Factor Authentication on your website is to use Google Authenticator (Mobile App), which provides two-factor authentication for Google account logins, as well as other websites.
The Google Authenticator app is available for Android, iPhone, and Blackberry and can provide authentication based on one of the two proposed standards:
- Time-based One Time Password (TOTP)
- HMAC-Based One-time Password (HOTP).
Implementation of Two Factor Authentication in PHP
After creating a login and register for users we need to generate secret keys. These keys must be different for each user and it needs to be stored into the database on each user registration.
Step 1: First, to use two-factor authentication we need the google2fa package in our project.
Install the google2fa package with composer
You can also use BaconQrCode package for Inline QR codes.
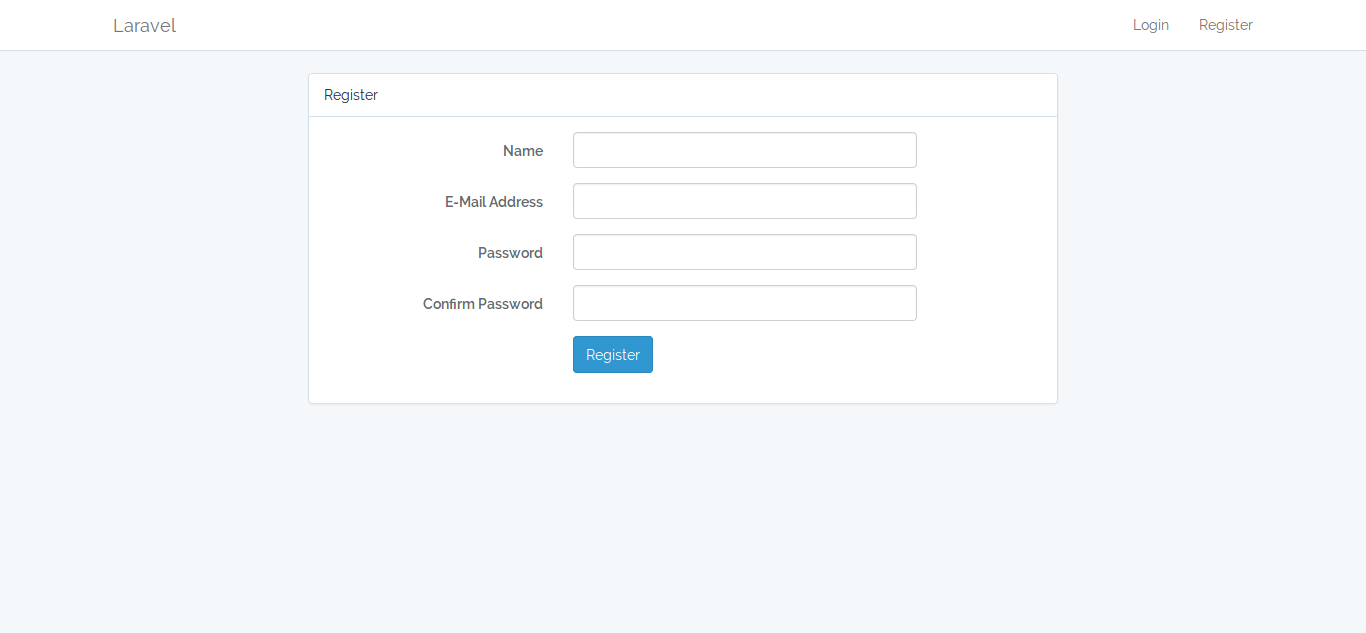
Step 2: Create a registration page with basic details as per your requirements.
Step 3: Generate the secret key and store it along with the other user data into the database. The secret key is different for each user.
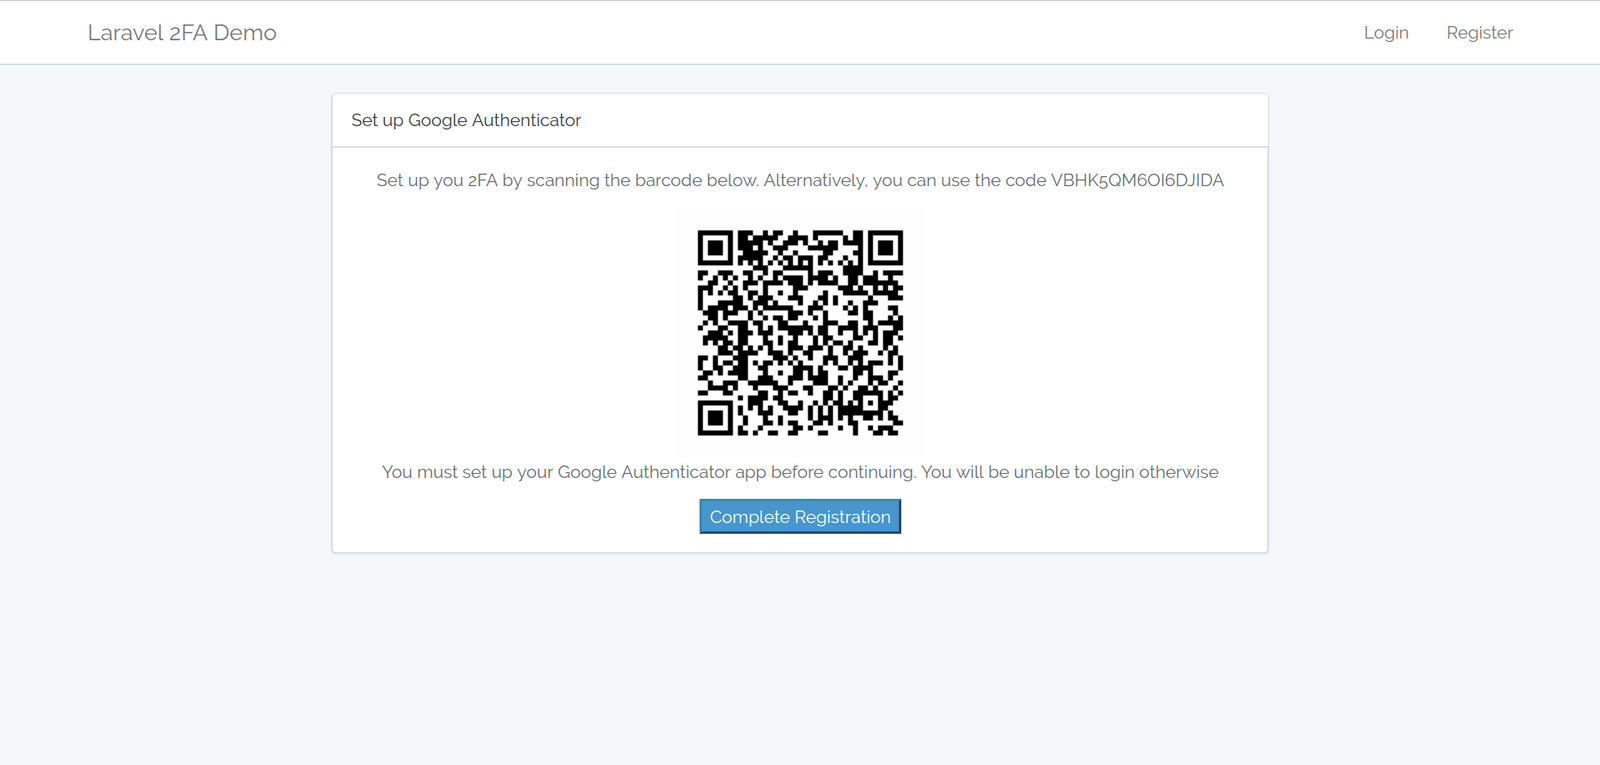
Step 4: Generate the QR code URL with the secret key and user data to link your website to the application.

Step 5: Display the QR code using the generated URL.
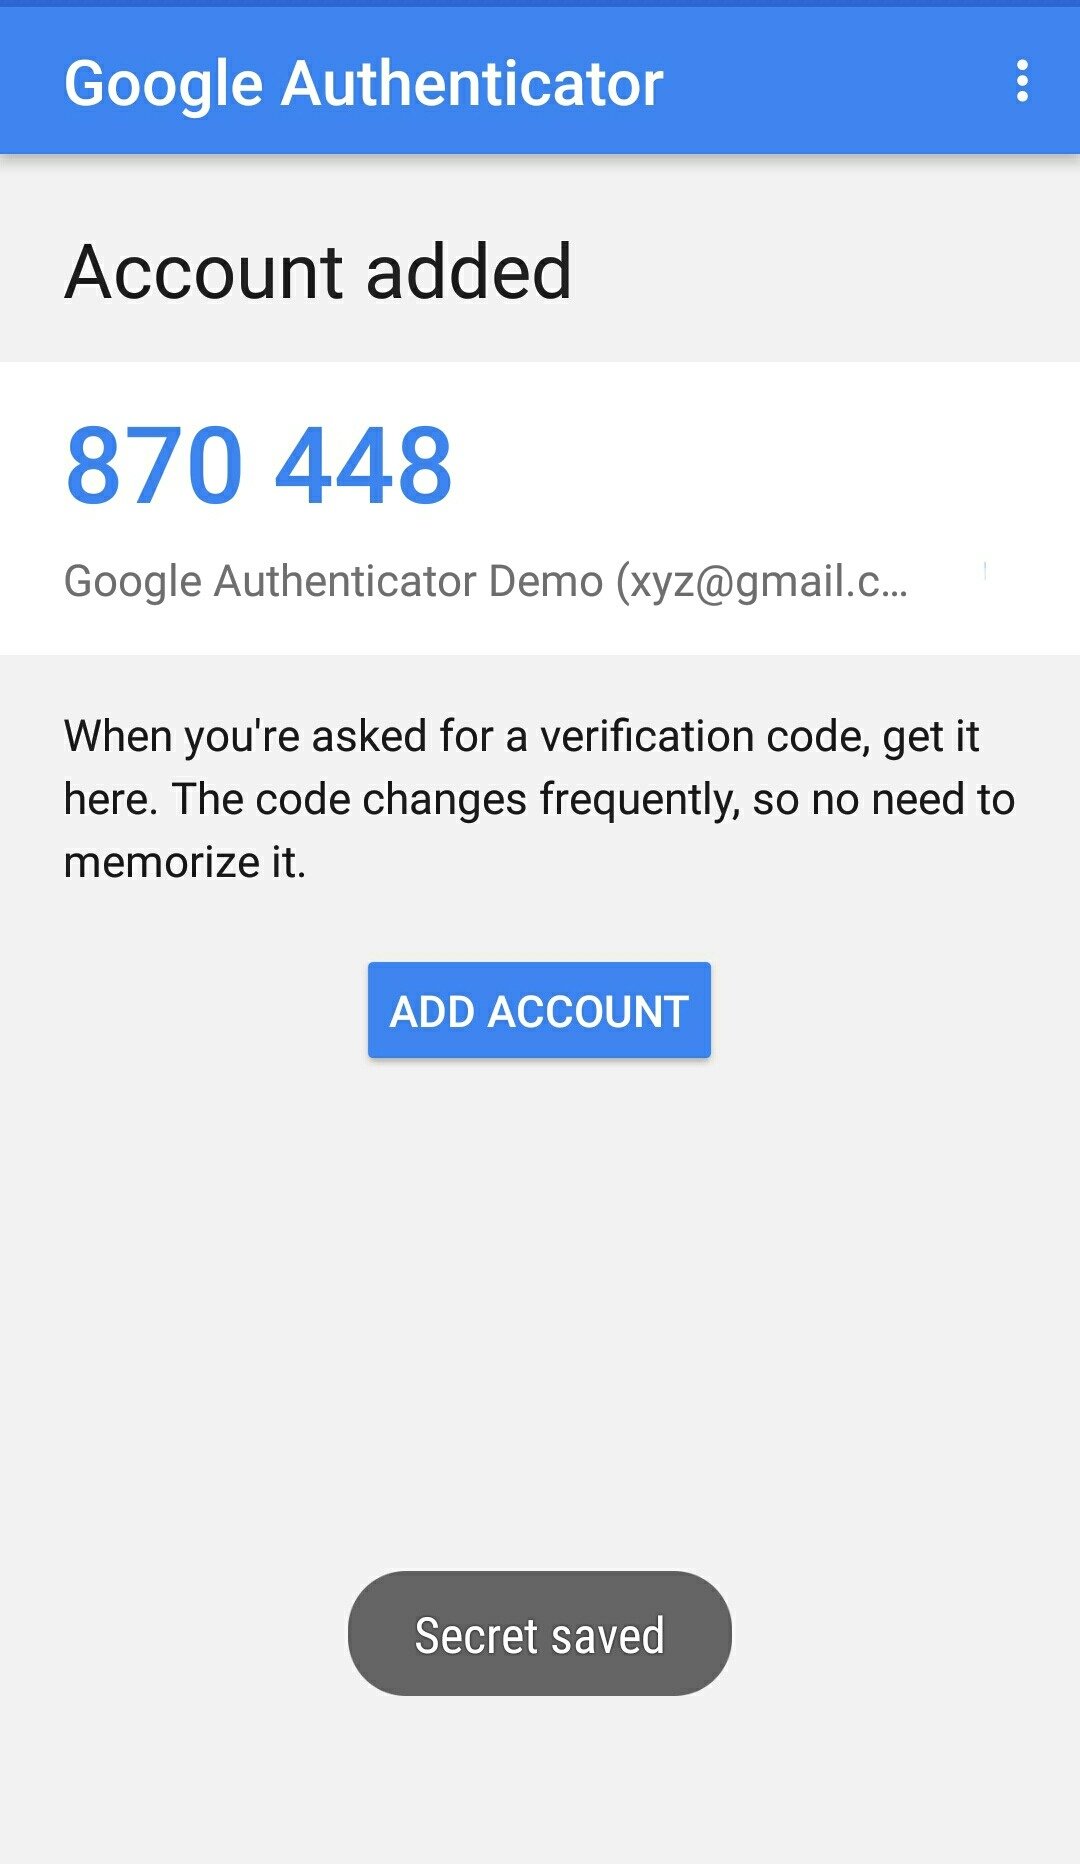
Step 6: Now, download the Google Authenticator App according to your mobile platform and begin.

Image Source: Google
In order to connect with the website, the user would have to “scan the QR code” OR enter the “secret code” into the Google Authenticator App. After that, the user will be shown a 6-digit PIN code that is valid for 30 seconds and that needs to be entered in the form in order to be authenticated.
here, I have added my demo website’ QR code.
Step 7: Now validate the data that has been entered in the form, with the database.
Hope this was helpful!
checkout our Best laravel packages to help you extend your project’s functionalities easily.
PHP and JWT Tutorial Make a Two-Factor Authentication System
The need for data security is at an all time high given the many vulnerabilities in web applications in the past decade. Let me make that easy for you to comprehend, in 2013 alone, 740 million online records were exposed, 552 million user identities were exposed through breaches. And a year before that, 117 million LinkedIn email password combinations were stolen and has been posted on the Internet.
Most users are not aware of this and now, it is up to us developers to save the day yet again. Without much ado, let us dive into the tutorial.
Application Logic
- User logs into account using username/email and password combination.
- Validate user and if combination exists, generate a JWT (JSON Web Token) that contains expiration and send to user’s email.
- User clicks on link in email, if JWT is valid, log user in, else return to login page.
File Structure
File Structure
Getting Started
Right before we get started, make sure you have composer installed, navigate to the inc directory and then run this command in your terminal:
php-jwt installation via terminal
Building The Backend
Now, let’s start writing in our php files. First we need to include an instance of JWT library that was initially downloaded into our application. To do so, open the 2fa.php file inside the inc directory in your favorite code editor and include below code
inc/2fa.php
For the purpose of this tutorial, we will use a dummy user account, so we don’t have to create a database connection. You can always edit the code to include a database connection.
So, our dummy user will be a private array that is a part of our userAuth class. Creating our user like so:
inc/2fa.php — Dummy User Account
Now, let’s include a signing key for our JWT token based Authentication system. It should not change that often because, any token generated by one signing key cannot be used by another. Also, an empty id and email variable that will hold the user id if the user exists in our database. Include our signing key and id variable:
inc/2fa.php — Class Variables And Constants
Awesome, so good so far. Now, let us start adding methods to our class that will help us validate user, generate JWT, send email and validate user JWT from email.
To validate a user, we will use the validUser method. It checks if the user exists in our user array, returns true if user exists or false if not:
inc/2fa.php — Valid User Method
Now to the method that will generate our JSON Web Token. If you don’t know what JWT is, I suggest you take a look at this link. What our method will do, is take the values of the id and email variables that has been set up once the user account exists in our application and create an array of key value pair and in turn use the encode method of the JWT library to create a token with our secret key.
That was a mouthful so less words, more codes, here it is:
inc/2fa.php — genJWT Method
The “exp” => time() + (60 * 60) key value pair in the payload tells our application when the token will expire, in this case, that is an hour from when it was created.
If you have noticed, all these previous methods are all private, it’s finally time to create our first public methods that puts the previous ones together. We want to send an email to the user with the token as a link for verification:
inc/2fa.php — mailUser Method
The above method, checks if the user exists, using the validUser method. If true, generates a token and sends it to the user’s email. Else, it returns an error message.
Let’s create the code that will actually handle the user input and pass it down to our class methods. Let’s put our handler.php file to use:
handler.php
Given the above code, we can be able to sanitize user input and pass our email and password variables to the user…. but we can’t see any error or success messages from our class. That takes us to our index.php file. Let’s include our handler file and then echo $msg if any:
index.php — Error and success message handler
Now, if our $msg variable is set, we can see the error messages.
To test it out so far, upload to a live server or if your development server can send an email, go ahead and use postman. It is a great app for sending different requests to an API server.
Let’s complete our code for token validation. When the user click on the link. We need to handle the token. Back to our 2fa.php file, let’s add another method to handle this
inc/2fa.php — User token management
Let’s explain the code
our first method validJWT() takes one argument, which is our token, validates it and returns it. We used a try and catch for Exception handling, because else, if an error occurs JWT prints out our signing key to the user and we don’t want that to happen.
The second method validMail() uses the validJWT method, checks if the returned array first value is set to true and the proceeds to log user in or return a success message.
To make use of these methods in our class file, let’s edit and add a few more lines of code to our handler.php file that gets token from the url if it is set (when the user clicks the link in the email). Our handler.php file should look like this:
handler.php — Updated code to get token from URL
In my local machine, everything worked out well and this was what I got.
Summary
This post focused more on the use of JWT in a PHP application than user authentication. It is a great library and its use is limitless. You can use it for authenticating the API endpoints in your applications.
Never store any sensitive information in a JWT token. The payloads are simply accessible from thejwt.io webpage. The signing key are just for token validation purposes, not authentication.
Having said that, do you have any projects that uses JWT or do you plan to use it in any of your upcoming projects? Did you successful recreate or integrate these code samples in any of your projects? Let’s talk about it in the comment section below.