Docker compose
Compose — это инструмент для определения и запуска многоконтейнерных приложений Docker. В Compose вы используете файл YAML для настройки служб вашего приложения. Затем с помощью одной команды вы создаете и запускаете все службы из своей конфигурации. Чтобы узнать больше обо всех функциях Compose, см. Список функций.
Compose работает во всех средах: production, staging, development, testing а так-же CI workflows. Вы можете узнать больше о каждом случае в разделе Common Use Cases.
Try Docker Compose
Important
From the end of June 2023 Compose V1 won’t be supported anymore and will be removed from all Docker Desktop versions.
Make sure you switch to Compose V2 with the docker compose CLI plugin or by activating the Use Docker Compose V2 setting in Docker Desktop. For more information, see the Evolution of Compose
This tutorial is designed to introduce the key concepts of Docker Compose whilst building a simple Python web application. The application uses the Flask framework and maintains a hit counter in Redis.
The concepts demonstrated here should be understandable even if you’re not familiar with Python.
Prerequisites
You need to have Docker Engine and Docker Compose on your machine. You can either:
- Install Docker Engine and Docker Compose as standalone binaries
- Install Docker Desktop which includes both Docker Engine and Docker Compose
You don’t need to install Python or Redis, as both are provided by Docker images.
Step 1: Define the application dependencies
Create a directory for the project:
Create a file called app.py in your project directory and paste the following code in:
In this example, redis is the hostname of the redis container on the application’s network. We use the default port for Redis, 6379 .
Handling transient errors
Note the way the get_hit_count function is written. This basic retry loop lets us attempt our request multiple times if the redis service is not available. This is useful at startup while the application comes online, but also makes the application more resilient if the Redis service needs to be restarted anytime during the app’s lifetime. In a cluster, this also helps handling momentary connection drops between nodes.
Create another file called requirements.txt in your project directory and paste the following code in:
Step 2: Create a Dockerfile
The Dockerfile is used to build a Docker image. The image contains all the dependencies the Python application requires, including Python itself.
In your project directory, create a file named Dockerfile and paste the following code in:
This tells Docker to:
- Build an image starting with the Python 3.7 image.
- Set the working directory to /code .
- Set environment variables used by the flask command.
- Install gcc and other dependencies
- Copy requirements.txt and install the Python dependencies.
- Add metadata to the image to describe that the container is listening on port 5000
- Copy the current directory . in the project to the workdir . in the image.
- Set the default command for the container to flask run .
Important
Check that the Dockerfile has no file extension like .txt . Some editors may append this file extension automatically and which results in an error when you run the application.
For more information on how to write Dockerfiles, see the Docker user guide and the Dockerfile reference.
Step 3: Define services in a Compose file
Create a file called docker-compose.yml in your project directory and paste the following:
This Compose file defines two services: web and redis .
The web service uses an image that’s built from the Dockerfile in the current directory. It then binds the container and the host machine to the exposed port, 8000 . This example service uses the default port for the Flask web server, 5000 .
The redis service uses a public Redis image pulled from the Docker Hub registry.
Step 4: Build and run your app with Compose
From your project directory, start up your application by running docker compose up .
Compose pulls a Redis image, builds an image for your code, and starts the services you defined. In this case, the code is statically copied into the image at build time.
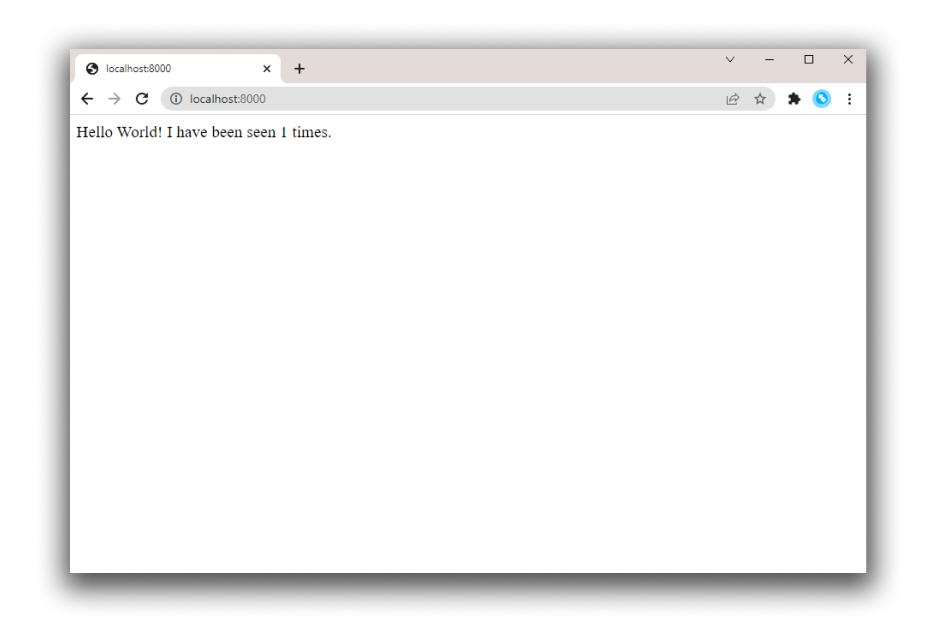
Enter http://localhost:8000/ in a browser to see the application running.
If this doesn’t resolve, you can also try http://127.0.0.1:8000.
You should see a message in your browser saying:
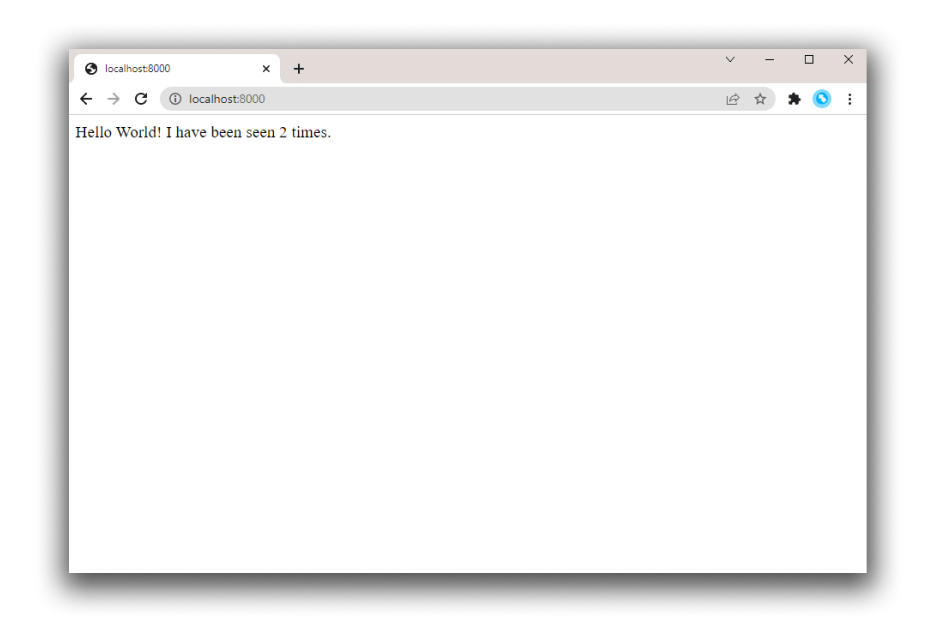
Refresh the page.
The number should increment.
Switch to another terminal window, and type docker image ls to list local images.
Listing images at this point should return redis and web .
You can inspect images with docker inspect <tag or id> .
Stop the application, either by running docker compose down from within your project directory in the second terminal, or by hitting CTRL+C in the original terminal where you started the app.
Step 5: Edit the Compose file to add a bind mount
Edit docker-compose.yml in your project directory to add a bind mount for the web service:
The new volumes key mounts the project directory (current directory) on the host to /code inside the container, allowing you to modify the code on the fly, without having to rebuild the image. The environment key sets the FLASK_DEBUG environment variable, which tells flask run to run in development mode and reload the code on change. This mode should only be used in development.
Step 6: Re-build and run the app with Compose
From your project directory, type docker compose up to build the app with the updated Compose file, and run it.
Check the Hello World message in a web browser again, and refresh to see the count increment.
If your project is outside of the Users directory ( cd
Step 7: Update the application
Because the application code is now mounted into the container using a volume, you can make changes to its code and see the changes instantly, without having to rebuild the image.
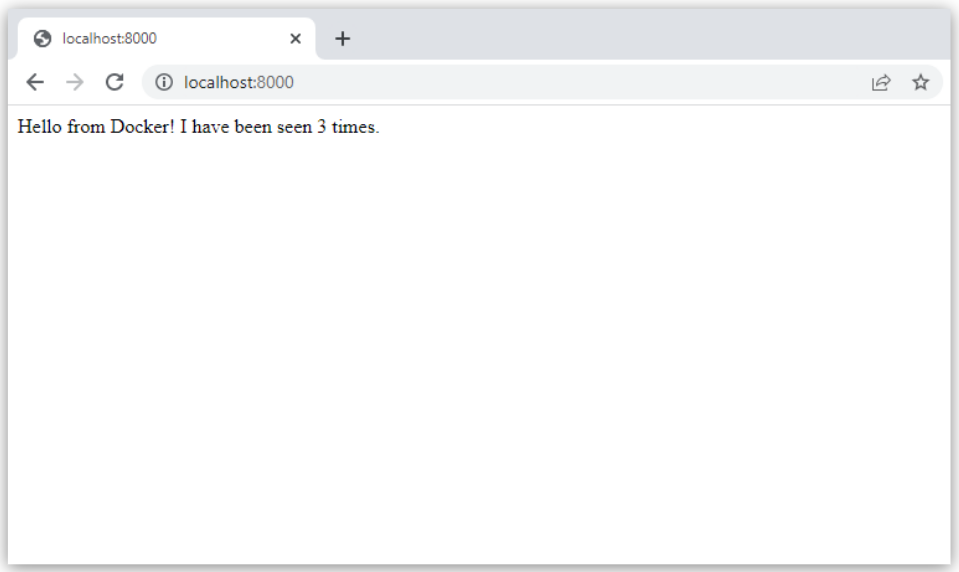
Change the greeting in app.py and save it. For example, change the Hello World! message to Hello from Docker! :
Refresh the app in your browser. The greeting should be updated, and the counter should still be incrementing.
Step 8: Experiment with some other commands
If you want to run your services in the background, you can pass the -d flag (for “detached” mode) to docker compose up and use docker compose ps to see what is currently running:
The docker compose run command allows you to run one-off commands for your services. For example, to see what environment variables are available to the web service:
See docker compose —help to see other available commands.
If you started Compose with docker compose up -d , stop your services once you’ve finished with them:
You can bring everything down, removing the containers entirely, with the down command. Pass —volumes to also remove the data volume used by the Redis container:
Docker: Get started with Docker Compose
Docker Compose is a tool that simplifies work with multiple containers. In the previous article Docker: From Setup to First Container we have shown how to create a simple Docker image and how to run a Docker container with only using Dockerfile. In this article we will create the same image but with using docker-compose (originally published at machy8.com).
Installation
If you haven’t installed docker-compose tool yet, you can install it by following the official instructions.
After successful installation you should have the docker-compose command available in your console.
Creating the docker-compose.yml
In the same directory where you have the Dockerfile (created in the previous article) create another file called docker-compose.yml and add the following line inside.
This instruction says to use the third version of the Compose file format.
To define the same container as we have in the Dockerfile we need to create a services section with the hello-world section including its configuration. Unlike the previous article, we will try php:apache image instead of the pure PHP image.
Now a bit of explanation what does those parameters means:
- hello-world — is the service name in the docker-compose file — sets the container name to hello-world-test (it is the same as — name parameter when running docker run …command) — is the name of the php image we are going to use — allows us to define the external and internal ports where the first number is the external port and the second is the internal port. It is also possible to set multiple ports — in a nutshell there are paths for shared directories between your computer or server and Docker Container. Volumes can be modified by using flags that can improve the performance of mounted volumes
Building the Image
Do you remember the command for building the image from the first article? It is in fact a very short and simple command but using docker-compose it can be even more simple. Just move the cli into the directory with the docker-compose.yml file and run
That’s all. Simple, right?
Running the Container
Running container with docker-compose is very simple. Just run
To check, whether the container is running you can use the following command which shows you all running containers defined in docker-compose.yml file.
Now, when you open your browser and type http://localhost you should be able to see the Hello World! text.
Cleanup
For stopping the container use the following command
(hello-world is the name of the service you want to stop; if want to stop all services, just don’t add any).
Настройка cервера с помощью docker для простых проектов. Часть вторая: docker-compose

Мы продолжаем цикл обучающих статей для начинающих системных администраторов: если вы являетесь опытным админом, можете смело пропустить этот материал. В этой статье мы разберем docker-compose.
Напомню, что цель серии — не показать, как развернуть идеальное окружение, а лишь указать на нюансы в работе и защитить начинающих специалистов от базовых ошибок при настройке.
Итак, в этой статьей рассмотрим следующие пункты:
Чем удобен docker-compose?
Приступаем к написанию yml-файла.
Пункт 1. Указание версии.
Пункт 2. Объявляем сервисы.
Пункт 3. Объявляем контейнеры.
Пункт 4. Локальная сеть контейнеров.
Пункт 4.1. Основные конфигурации и ключи файла docker-compose.
Пункт 5. Пишем nginx.
Пункт 6. Пишем php-fpm.
Пункт 7. Пишем mysql.
Пункт 8. Общий итог docker-compose.yml.
docker-compose.
Чем удобен docker-compose?
docker-compose позволяет управлять всеми контейнерами из одного файла (файл — формата yml). Теперь не нужно будет писать кучу docker run и длинные команды для запуска контейнеров: достаточно будет лишь запустить одну команду docker-compose up, после чего все контейнеры будут подняты без нашего вмешательства, причем со всеми настройками, которые будут прописаны в yml-файле. Также docker-compose позволяет взаимодействовать с системой управления репозиториями программного кода. Например: gitlab.
Установка.
Для начала установим инструмент. Загружаем текущую стабильную версию:
Делаем скачанный файл исполняемым:
Все установлено и работает.
Подготовка:
Какие сервисы понадобятся?
База данных: mysql.
Первым делом подготовим директории для работы. Для начала создадим директорию, где будет лежать docker-compose.yml. Мы приняли за стандарт, что в нашей компании все файлы docker-compose находится в директории /var/apps/. Создаем директорию и переходим в нее:
Создаем директорию проекта:
Создаем файл docker-compose.yml:
Теперь создадим директорию где будут хранится наши конфигурационные файлы площадок, конфигурации php.ini и так далее:
Давайте заранее создадим все директории и конфигурации наших сервисов:
etc — директория с конфигурационными файлами сервисов;
build — директория с файлами Dockerfile в котором будут хранится все команды для сборки образа.
Получилась такая структура директорий:
volumes/ (директория с конфигурационным файлами)
build/ (директория c Dockerfile для наших контейнеров)
etc/ (директория с конфигурационными файлами для наших сервисов)

В ./app/volumes/etc/mysql/config-file.cnf можно указывать все необходимые настройки для mysql. В нашем случае мы добавим:
В ./app/volumes/etc/nginx/nginx.conf можно указывать все необходимые настройки для nginx и площадки. В этом случае мы добавим:
Файл площадки ./app/volumes/etc/nginx/sites-enabled/DOMAIN_NAME.conf можно взять из предыдущей статьи.
В ./app/volumes/etc/php-fpm8.1/fpm.pool.d/domain.conf добавляем настройки для php-fpm площадки:
В ./app/volumes/etc/php-fpm8.1/php.ini можно добавлять все настройки для php. В нашем случае мы добавим:
Перед дальнейшими работами очистим все образы, собранные ранее в предыдущей статье. Для этого действия подойдет команда:
Эта команда очищает все образы не запущенных контейнеров. Важное уточнение — именно не запущенных!
Смотрим запущенные контейнеры:
Для остановки всех контейнеров можно использовать команду:
Далее очищаем образы командой docker system prune —volumes —all:
Все контейнеры и образы были удалены с сервера.
Базовая настройка завершена.
Приступаем к написанию нашего yml-файла.
ВНИМАНИЕ! Важное уточнение: так как это файл формата yml, в нем очень строго необходимо следить за пробелами и отступами и никогда не использовать TAB. В противном случае вы можете получить синтаксическую ошибку — например, лишний пробел где-нибудь в 80-ой строке, на поиск которого у вас может уйти не один час =).

Итак, открываем docker-compose.yml.
Пункт 1. Указание версии.
Для начала указываем, какую версию docker-compose будем использовать. В нашем случае мы используем версию 2.4 — её нам будет вполне достаточно.
Для ознакомления со всеми версиями, и для чего они нужны, можете перейти на официальный мануал по этому поводу: version.
Пункт 2. Объявляем сервисы.
Мы объявляем, что далее будут идти наши контейнеры.
Пункт 3. Объявляем наши контейнеры.
Не забываем про формат yml, поэтому делаем два пробела и добавляем:
Выглядит это так:
Пункт 4: Локальная сеть контейнеров.
Давайте заранее обьявим нашу сеть, чтобы больше к ней не возвращаться. За сеть у нас отвечает ключ networks.
Добавляем такие строки:
default — название нашей сети. Можете использовать любое название.
driver — драйвер нашей сети.
ipam — конфигурация сети. В данном случае мы указываем нашу локальную подсеть 172.16.1.0/24
Пункт 4.5. Основные конфигурации и ключи нашего файла docker-compose.
container_name: — название контейнера;
hostname: — hostname в контейнере;
build: — загружаем файл Dockerfile, в котором будут хранится все команды для сборки образа;
extra_hosts: — пункт, в котором мы указываем, какая запись будет в hosts на нашем сервере;
ports: — порты, которые мы хотим прокинуть в контейнер;
volumes: — директории, которые мы хотим прокинуть в контейнер.
Для чего необходимо пробрасывать директории в контейнер? Каждый раз, когда мы будем пересобирать контейнер, у нас будут удаляться все внутренние директории. Для того, чтобы это не происходило, мы пробрасываем директорию в контейнер. После чего все файлы будут храниться на хост-машине, и после того, как будет пересобран контейнер, файлы будут в целости и сохранности.
Например: У нас имеется mysql в контейнере. Если мы не пробросим директорию с БД, то все наши БД буду удалены после того, как мы пересоберем контейнер. Поэтому для всех сервисов лучше всего пробрасывать все нужные директории. Это важно!
networks: — ip адрес который мы присвоим нашему контейнеру;
links: — приоритет загрузки контейнеров;
restart: — частота перезагрузка контейнера в случае ошибки.
Пункт 5. Пишем nginx.
Переходим к строчке nginx и делаем отступ 4 пробела. Формат yml (да, не устану это повторять:)).
Указываем название контейнера container_name:
Указываем hostname:
Указываем местонахождение нашего Dockerfile для сборки build:
Указываем директории, которые необходимо прокинуть в контейнер с помощью volumes. Обязательно необходимо прокинуть:
Файлы площадки. Для работы со статикой.
Конфигурацию nginx. Для быстрого управление в случае необходимости.
Конфигурационные файлы площадки. Для работы площадки.
Директорию с сертификатами ssl. Для быстрого подключения работы по https.
Директорию с log-файлом nginx. Для удобства анализа в дальнейшем.
Указываем volumes и прокидываем директории через дефис:
Ключ :ro означает read only. Он добавлен для безопасности, чтобы внутри контейнера нельзя было изменить конфигурационные файлы.
Указываем порты ports:
Открываем порты 80 и 443 на хосте и пробрасываем их в контейнер.
Указываем приоритет загрузки links:
Контейнер nginx не будет загружен быстрее чем контейнер с php-fpm. Делается для того, чтоб пользователя не видели 502 код ответа, в случае перегрузки контейнеров.
Указываем как часто можно перезагружаться контейнеру в случае ошибки:
Присваиваем ip адрес контейнеру с помощью networks:
В итоге получается у так:
У нас имеется контейнер nginx:
С названием DOMAIN_NAME-nginx
hostname в контейнере DOMAIN_NAME-nginx
Собирающийся из нашего Dockerfile по адресу ./volumes/build/nginx
С прокинутыми директориями и файлами ./var/log/nginx, ./volumes/etc/nginx/nginx.conf, ./volumes/etc/nginx/sites-enabled/, ./volumes/etc/nginx/ssl/, /var/www/DOMAIN_NAME/
Работающий на 80 и 443 портах хост машины
Запускающийся только после контейнера php-fpm
Часто перезагружаемый в случае ошибки и с ip адресом 172.16.1.4.
Пункт 6. Пишем php-fpm.
Переходим к строке php-fpm.
Название:
Hostname:
Расположение Dockerfile:
Приоритет загрузки links: указывать не нужно.
Порты:
Директории, которые нужно прокинуть:
php.ini для быстрого изменения конфигурации (в случае необходимости).
Конфигурационный файл площадки.
IP адрес:
Добавляем права на все изменения в докере php:
Для чего это нужно? Например php-fpm необходимо будет сменить приоритет процесса. Если данная строка будет отсутствовать, то получим ошибку:
mbind: Operation not permitted
Или, например, площадка у нас работает от пользователя DOMAIN_NAME. Для того, чтобы площадка работала в контейнере, php-fpm необходимо добавить пользователя в систему. Если строки не будет, то будет выдаваться аналогичная ошибка.
Перезагрузка контейнера:
У нас имеется контейнер php-fpm:
С названием DOMAIN_NAME-php-fpm;
hostname в контейнере DOMAIN_NAME-php-fpm;
Собирающийся из нашего Dockerfile по адресу ./volumes/build/php-fpm8.1. С прокинутыми директориями и файлами ./volumes/etc/php/fpm.pool.d/domain.conf, ./volumes/etc/php/php.ini, /var/log/php, /var/www/DOMAIN_NAME/;
Работающий на 9000 порте хост машины;
Часто перезагружаемый в случае ошибки и с ip адресом 172.16.1.5.
Пункт 7. Пишем mysql.
Переходим к строке mysql.
Название:
Hostname:
Расположение Dockerfile:
Приоритет загрузки links: указывать не нужно.
Порты:
Директории, которые нужно прокинуть:
Директория для хранения БД.
Конфигурационный файл mysql.
IP адрес:
Перезагрузка контейнера:
У нас имеется контейнер mysql:
С названием DOMAIN_NAME-mysql;
hostname в контейнере DOMAIN_NAME-mysql;
Собирающийся из нашего Dockerfile по адресу ./volumes/build/mysql;
С прокинутыми директориями и файлами /var/lib/mysql, /var/log/mysql:/var/log/mysql, ./volumes/mysql/conf.d;
Работающий на 3010 порте хост машины;
Часто перезагружаемый в случае ошибки и ip адресом 172.16.1.6.
Пункт 8. Общий итог нашего docker-compose.yml:
Итак, мы разобрали базовые ключи и команды для написание docker-compose. Теперь вы можете самостоятельно писать yml, а самое главное понимать, что именно вы написали! Но перед запуском необходимо написать Dockerfile, и в следующей статье мы с вами разберем, что это такое, для чего Dockerfile нужен, и как его красиво писать. После чего запустим наш docker-compose, накатим WordPress и проверим его работу.
Спасибо за уделенное нам время. Надеемся, статья была для вас познавательной. Если остались вопросы — задавайте в комментариях, мы с радостью на них ответим. Всем удачного администрирования и чтоб ваш PROD никогда не падал!