Установка XAMPP под Linux Mint 17
В этой статье будет рассмотрен вопрос установки локального сервера XAMPP под операционной системой Linux Mint 17.
Почему этот локальный сервер и, тем более, почему именно Linux? Ответы просты — для меня лично сервер XAMPP является наиболее интуитивно понятным. А Linux — потому что в ней мне более удобно кодить на HTML&CSS, нежели под Windows.
Хотя бы взять удобный и полноценный терминал Linux, который всегда под рукой. Также, локальный сервер под Linux, по моим субъективным оценкам, работает гораздо быстрее, нежели под Windows.
С преимуществами работы кодера под Linux разобрались — осталось установить и настроить локальный сервер под эту операционную систему. В этом вопросе нет ничего сложного и есть даже локализованная версия инструкции на официальном сайте Apache Friends -FAQ Linux. В этой статье я постараюсь дать более подробное описание этого процесса, с картинками.
Локальный сервер под Linux выполнен в виде пошагового графического инсталлятора наподобие того, как это делается под Windows. С одной стороны это несколько непривычно для Linux; но с другой стороны так можно быстро и легко установить пакет для новичков в этой операционной системе.
Пакет инсталляции XAMPP под Linux Mint
Скачиваем пакет инсталлятора по ссылке Download официального сайта “Apache Friends”. При этом определяемся, под 32 или 64-битную систему необходим пакет — такой и выбираем. Помимо этого есть две версии пакета — стабильный 1.8.2/PHP 5.4.27 и более новый 1.8.3/PHP 5.5.11.
Мною был выбран пакет 1.8.2/PHP 5.4.27 (именно из-за его стабильности) версии 64-бита, под операционную систему Linux Mint 17 “Qiana” Cinnamon 64-bit.
После скачивания пакета открываю директорию “Downloads” (туда попадают все скачиваемые под Linux файлы) в терминале. Команда показывает мне содержимое этой директории — и файл в частности.
В этом же терминале делаю этот файл исполняемым:
… затем запускаю файл на выполнение командой:
Инсталляция XAMPP под Linux Mint
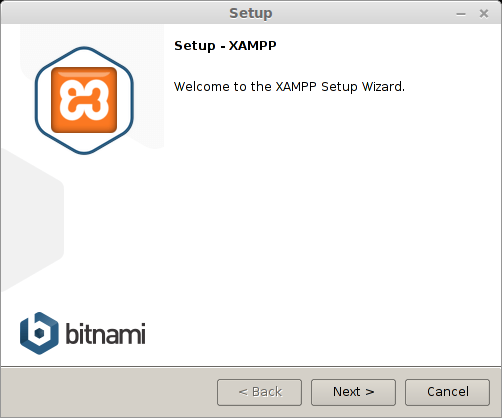
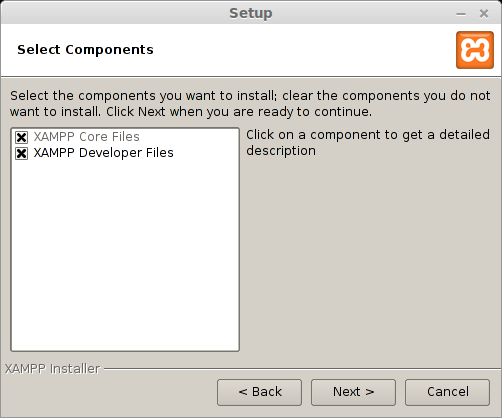
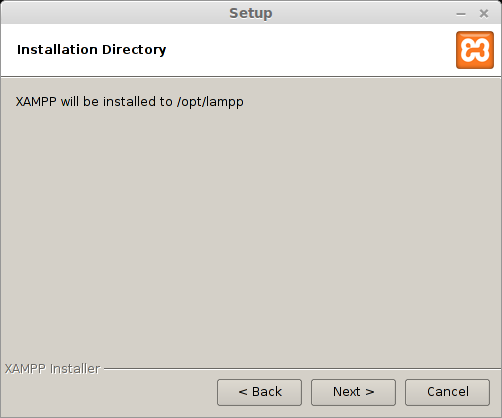
Запуститься пошаговый графический инсталлятор локального сервера. Пользователи Windows могут почувствовать себя здесь немного в своей стихии. Ниже приведу скриншоты все шагов установки сервера с кратким их описанием, где это необходимо.
Сервер будет установлен в директорию :
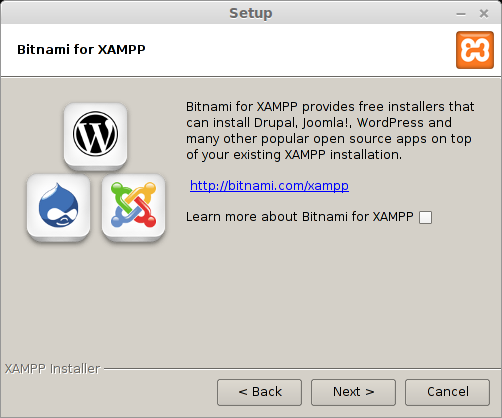
В этом шаге необходимо убрать галочку в строке “Learn more about Bitnami for XAMPP”:
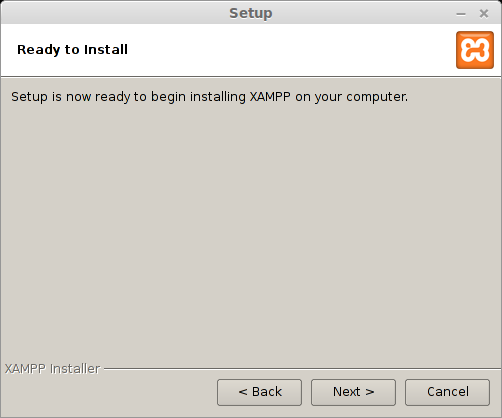
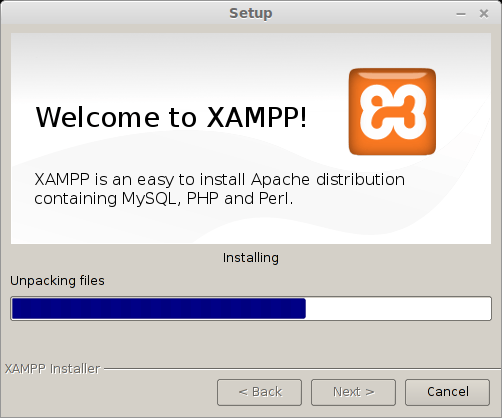
В этом шаге оставляем галочку в строке “Launch XAMPP”, чтобы локальный сервер автоматически запустился после установки:
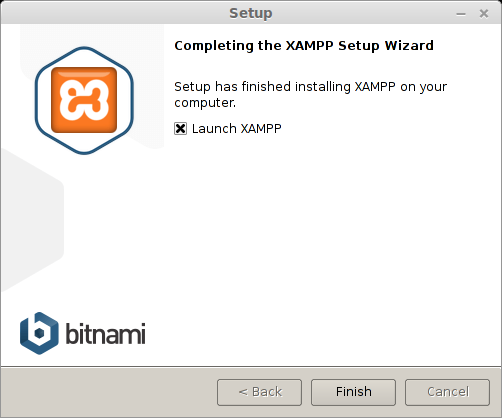
Запуск и остановка XAMPP под Linux Mint
Помимо самого локального сервера будет установлено графическое приложение, задача которого — облегчить управление локальным сервером. Это приложение также запуститься автоматически, но его можно при необходимости запустить и вручную командой:
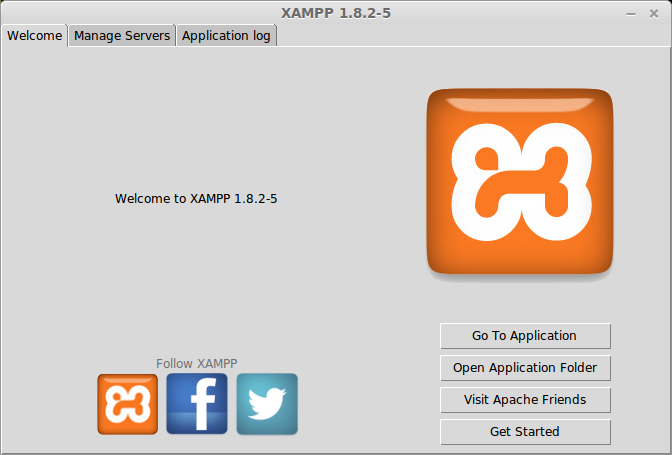
Переходим в этом приложении на вкладку “Manage Servers” и видим список служб локального сервера. Напротив каждой службы в виде лампочки показан ее статус — запущена она (Running) или остановлена (Stopped).
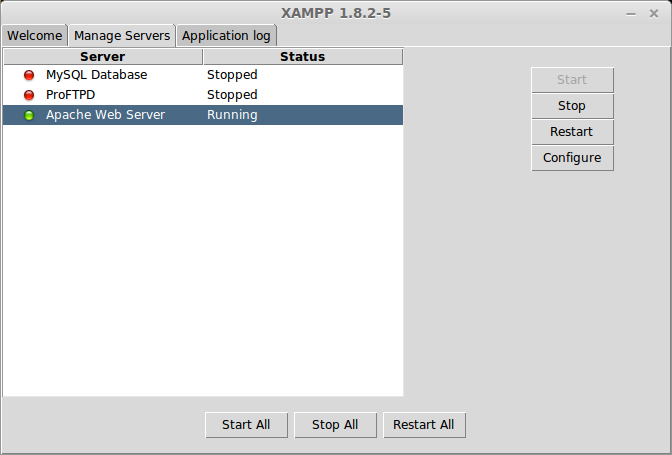
Первоначально запущен только локальный сервер Apache; база данных “MySQL Database” и FTP-сервер “ProFTPD” остановлены. Их можно запустить из данного приложения, просто нажав кнопку “Start”, но я поступлю более Linux-way и воспользуюсь терминалом. Для этого я введу в нем всего одну комадну:
Если все пройдет успешно, то в терминале будет следующий вывод:
… что можно проверить и в приложении:
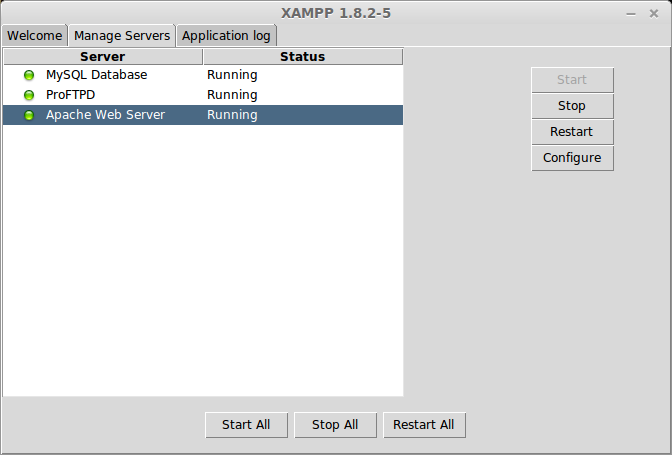
Остановить локальный сервер можно также из терминала командой:
Установка WordPress под XAMPP в Linux Mint
С установкой локального сервера под Linux Mint разобрались. Стоит еще раз оговориться, что по моим субъективным оценкам он работает гораздо шустрее под Linux, нежели под Windows.
Переходим к заключительной части данной статьи и рассмотрим вопрос установки CMS WordPress под XAMPP в Linux Mint. Все виртуальные сервера располагаются в директории .
То есть, если необходимо создать отдельный экземпляр какой-либо CMS (Joomla, WordPress, Drupal и так далее), то нужно просто создать поддиректорию в директории и распаковать туда нужную CMS. В моем случае такой CMS будет WordPress-3.9.1.
Создаю поддиректорию командой:
… и распаковываю в нее скачанный архив WordPress с помощью незаменимой консольной программы (не забудьте запустить ее через , иначе получите ошибку прав доступа):
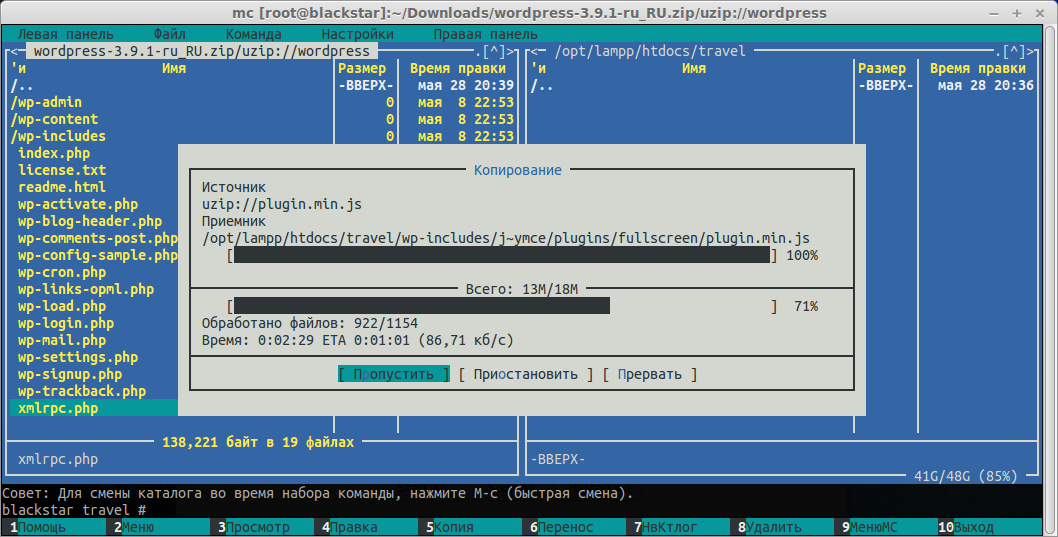
После распаковки WordPress приступим к его установке. Создадим вручную конфигурационный файл чтобы избежать ошибки прав доступа при обычной пошаговой инсталляции WordPress (не забываем, что мы находимся под Linux!). Для этого скопируем файл-шаблон в ту же директорию под именем :
… и отредактируем его через редактор nano:
Затем в адресной строке браузера введем (XAMPP у нас все еще запущен, не забываем об этом!):
… и в приложении phpMyAdmin создаем базу данных под наш будущий локальный сайт, на котором будет “крутиться” WordPress. Перезапускаем локальный сервер, чтобы он “подхватил” изменения в базе данных MySQL и создание виртульного сервера в директории :
В браузере в адресной строке запускаем установку WordPress:
… далее проходим оставшиеся стандартные шаги инсталляции WordPress и получаем готовый локальный сайт — переходим на него по адресу:
На этом установка CMS WordPress под локальный сервер успешно завершена. А также успешно выполнена рассмотренная выше инсталляция локального сервера под операционной системой Linux Mint 17 “Qiana” Cinnamon 64-bit.
Заключение
Итог выполненных выше шагов — возможность иметь всегда “под рукой” готовый к работе локальный сервер. Еще один плюс к удобству кодинга под Linux. А кодинг под Linux субъективно для меня удобнее кодинга под Windows.
Стоит также сказать, что при установке и настройке могут возникнуть проблемы. В частности, автором данной статьи первоначально производилась установка “чистого” LAMPP, которая потом была удалена. И, хотя деинсталляция была произведена правильно, последующая установка XAMPP привела к тому, что данный сервер не запускался на компьютере.
Красивая функция trackBy
Пример красивой функции trackBy для Angular. Функция понравилась своей лаконичностью:<% highlight typescript %>public trackByNumber = (_. … Continue reading
How To Install and Configure XAMPP on Debian 11
In this article, we want to show you How To Install and Configure XAMPP on Debian 11.
XAMPP is an open-source software developed by Apache Friends. XAMPP software package contains Apache distributions for Apache server, MariaDB, PHP, and Perl. And it is basically a local host or a local server. This local server works on your own desktop or laptop computer. The use of XAMPP is to test the clients or your website before uploading it to the remote web server. This XAMPP server software gives you a suitable environment for testing MYSQL, PHP, Apache, and Perl projects on the local computer.
The full form of XAMPP is X stands for Cross-platform, (A) Apache server, (M) MariaDB, (P) PHP, and (P) Perl. Cross-platform usually means that it can run on any computer with any operating system.
Steps To Install and Configure XAMPP on Debian 11
Before you start to install XAMPP, you need to log in to your server as a non-root user with sudo privileges. To do this, you can follow our article the Initial Server Setup with Debian 11.
Now follow the steps below to complete this guide.
Install XAMPP on Debian 11
First, you need to update your local package index with the following command:
Download XAMPP for Linux
Then, you need to visit the Apache Friends Downloads page and copy the link address of XAMPP for Linux. And Use the wget command to download it:
Now set the correct permissions for your downloaded file with the following command:
Next, run your XAMPP installer script on Debian 11 with the following command:
You will be asked some questions, enter y to continue your installation.
When your installation is completed, you will get the following output:
Configure XAMPP Server
At this point, you need to allow everyone to access the XAMPP server on Debian 11.
Open the /opt/lamp/etc/extra/httpd-xampp.conf file and add a line ” Require all granted” and comment out or delete the line “Require local“.
When you are done, save and close the file.
At this point, restart your XAMPP service on Debian 11 with the command below:
Access XAMPP Web Interface
At this point, you can access your XAMPP on Debian 11 through the web interface. Type your server’s IP address in your web browser:
If you want to access the phpmyadmin page just type the URL of with /phpmyadmin in the address bar.
Conclusion
At this point, you learn to Install and Configure XAMPP on Debian 11.
Xampp — локальный веб сервер
Xampp — идеальное решение для тех, кто нуждается в веб сервере для отладки сценариев на PHP , Pearl и пр. Xampp более удобен для отладки, чем, например, lamp-server, ввиду своей мобильности, и адаптированного интерфейса для запуска/остановки веб сервера.
Установка
Мы здесь рассмотрим установку xampp таким образом, чтобы сэкономить время вебмастеру (т.е. уберечь вас от сохранения данных локального сервера каждый раз, когда вам необходимо переустановить систему, например)
Перед установкой необходимо скачать пакет xampp.
запустите инсталлятор *.run, предварительно сделав его исполняемым, дождитесь окончания установки
далее, под рутом скопируем папку lampp туда, где мы будем хранить наш веб сервер, например /media/server/
удаляем папку /opt/lampp/
создаем символическую ссылку lampp в папке /opt/, ведущую на папку с нашим сервером (/media/server/lampp)
На этом установка xampp закончена.
Запуск и остановка
Для запуска и остановки xampp есть несколько способов, мы рассмотрим их все.
запускает панель управления веб сервером, имеющую под собой кнопки запуска всего xampp, либо по-отдельности Apache, MySQL, ProFTPD. Для удобства можно создать .sh файл с соответствующим содержимым.
Почтовая заглушка
По умолчанию XAMPP не имеет в себе какого либо почтового сервера, но для веб разработчиков необходимым условием является наличие оного, причем, не полноценного почтового демона, а заглушки, которая не отправляет письма по адресу, а складывает их в определенном месте, откуда письма можно просмотреть.
HostSEO Blog
Testing a website is essential before filing the backend data on a live hosting platform. You might know that Apache offers to use a localhost server to test your site through a web browser. If you need a bit more integrated LAMP stack service for your Ubuntu system, here comes the Xampp. Xampp is one of the most used cross-platform, free, and open-source LAMP stack tools for testing databases, servers, and websites. If you have a Ubuntu Linux machine, Xampp allows creating a localhost server to work with phpMyAdmin, a PHP server, and make databases.
Install XAMPP on Ubuntu Desktop
XAMPP is written in Perl and PHP language and maintained by Apache Friends. It is totally compatible with the Linux kernel. XAMPP can be used on a low RAM and CPU configuration Linux system and doesn’t consume a lot of your storage system.
It uses web cache to load the heavy servers faster and supports CGI scripting, database manipulation. As it creates a localhost server environment on a local machine, you would not need any active internet connection to use XAMPP and the localhost server. Moreover, it is capable of sending and receiving HTTP requests.
In the entire post, we’ll see how you can install, configure, and get started with the XAMPP on a Ubuntu Linux system. I must note, as XAMPP provides a compiled .run file for Linux variants, the method I’m about to describe would be the same for Debian, Red Hat, Fedora, and other major Linux distributions.
Step 1: Update System Repository
Before installing the XAAMP service on a Ubuntu machine, it is necessary to update the system repository. It can repair the broken repository files and install the updated dependencies . You can run the following aptitude commands on your terminal shell to update your Linux repository.
Step 2: Download Xampp on Ubuntu Linux
XAMPP allows downloading the run file for the Ubuntu system through the wget command. You can download XAMPP with three different versions of the PHP framework. You can run one of the following commands given below to download and store the XAMPP run package on your filesystem.
Run the following Wget Command to Download XAMPP with PHP 7.4
Download XAMPP with PHP 7.3 For Linux
Wget Command to Download XAMPP with PHP 7.2
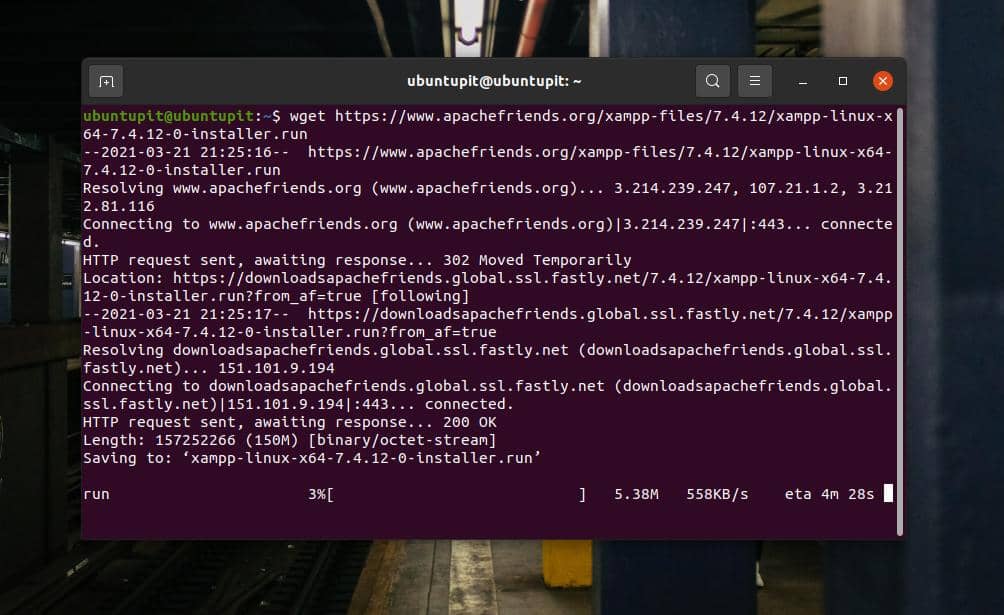
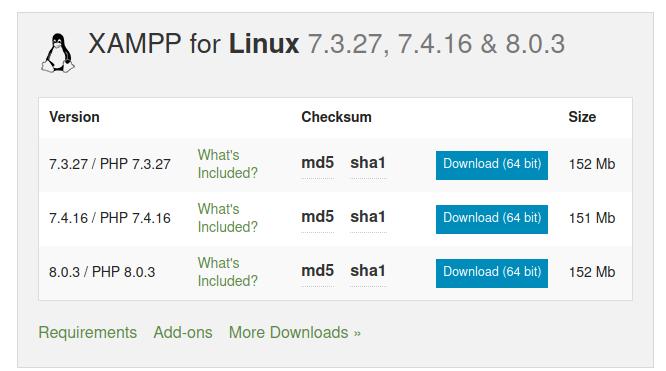
If you find any issues downloading XAMPP through the wget command, you can download it directly from the official website of XAMPP. Please visit this link and download XAMPP with your desired PHP version.
Step 3: Install Xampp on Ubuntu Linux
Usually, the wget command stores downloaded files inside the Home directory. After finding the XAMPP run file on your filesystem, open it through the terminal shell. Then we will need to grant the root access for the installer file to run it as a superuser. You can run the following chmod command on your terminal shell to give permission.
Finally, run the following installer script command on the terminal shell to initialize the installation process of XAMPP on your system.
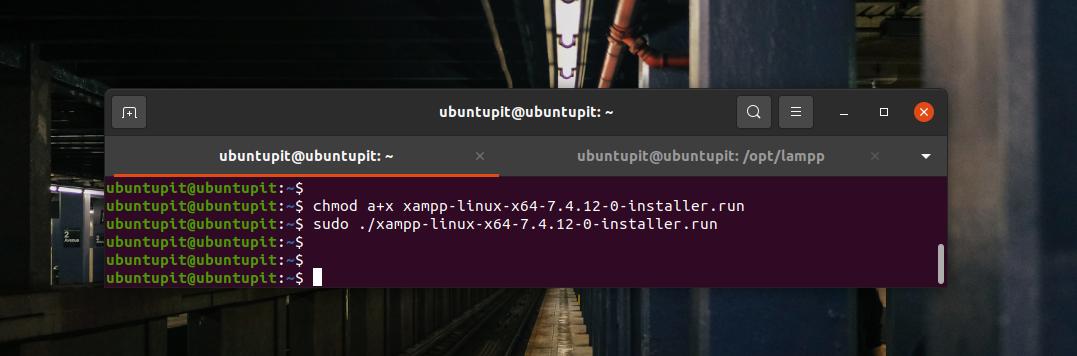
The above installer script command will open a new window for setting up the installation parameters of XAMPP. In this step, you’ll find that installing XAMPP on Linux is pretty similar to Windows. You can choose and checkmark the fields that you want to install or set during the installation process.
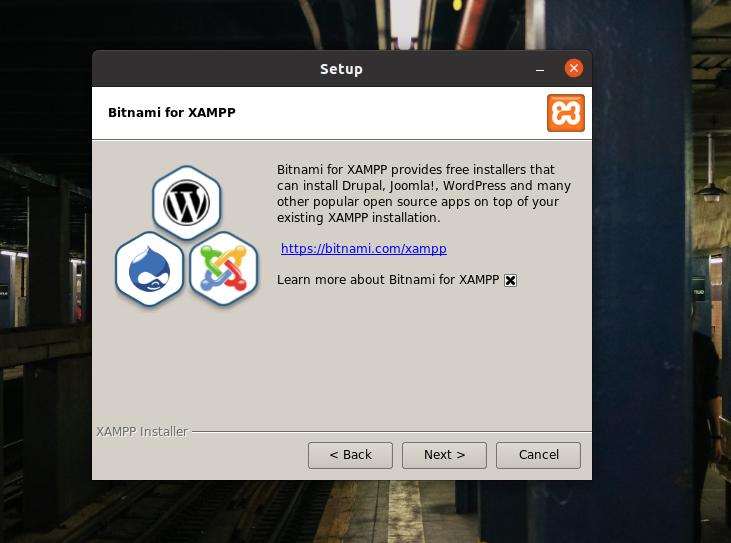
XAMPP also allows you to install developer files and core files on your Linux system. After check-marking the options, click on the Next button to proceed.
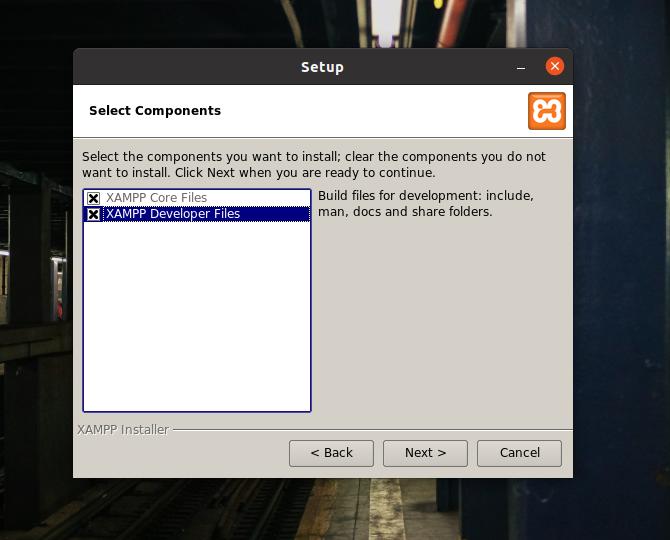
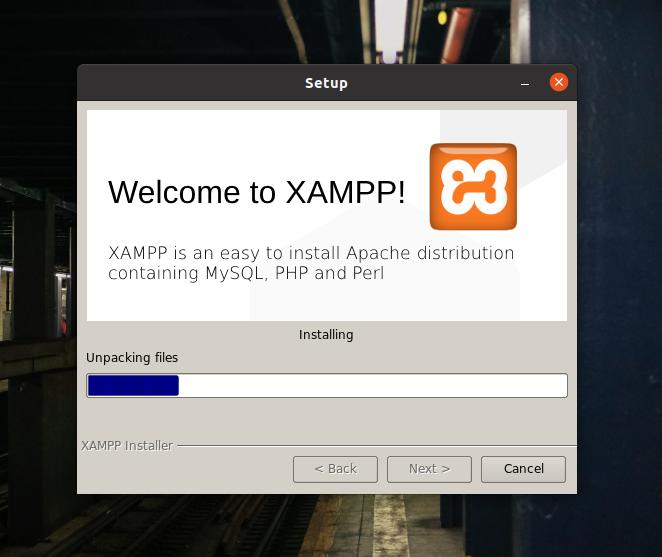
In this stage, you will see a progress bar on the screen to monitor the installation growth. The entire installation won’t take more than ten minutes.
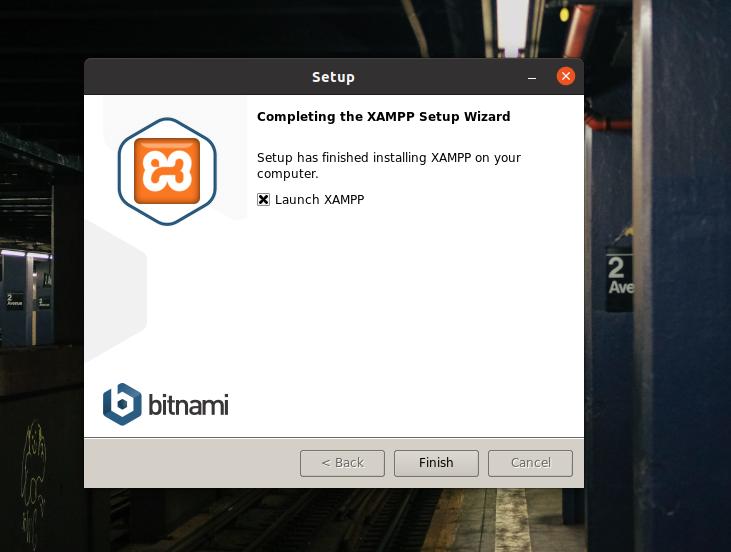
When the installation finishes, you will see a new window with a ‘Completing the XAMPP Setup Wizard’ message on the screen. Now, select the Launch XAMPP and hit the Finish button to start the XAMPP tool immediately on your Ubuntu system.
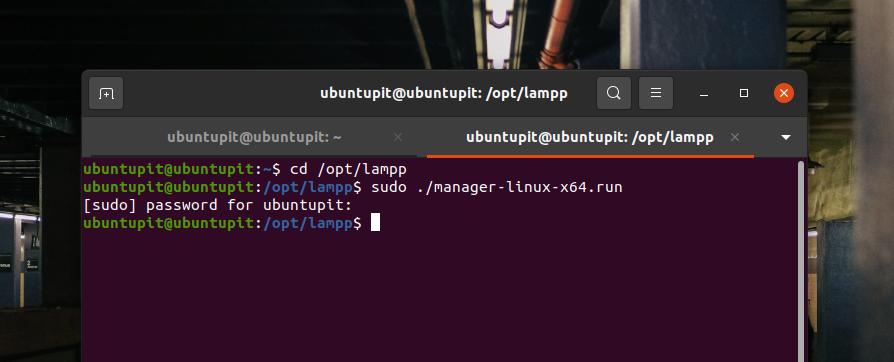
By default, Linux saves the XAMPP files inside the OPT (repository of the add-on packages ) directory. You can also run XAMPP on your Ubuntu machine by running the following command on your terminal shell.
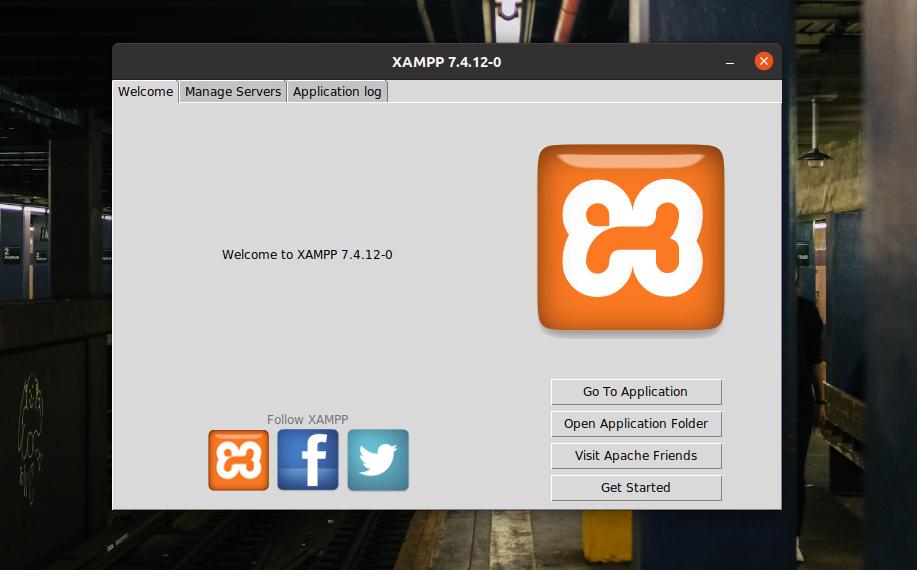
A ‘Welcome to XAMPP’ message will pop up on the screen if everything goes correct. You can now navigate and manage the localhost servers through the ‘Manage Servers’ and ‘Application Log’ tabs from the top bar.
Step 4: Configure Xampp
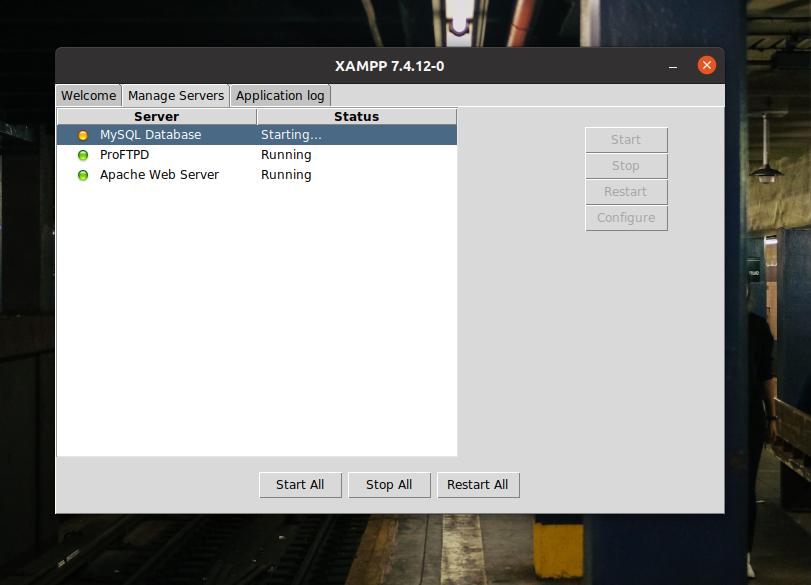
XAMPP actually doesn’t require to be required. The default settings work perfectly on a new machine. But if you have other servers installed into the localhost service, you might need to configure XAMPP with other IP addresses. XAMPP’s GUI-based settings window is easy to navigate and configure. You can configure the MYSQL database, FTPD, and HTTP server from the ‘Manage Servers’ tab on the top bar of XAMPP.
You can also check the Application log to monitor XAMPP’s activity. XAMPP also has three dedicated buttons to start, stop, and restart services on Linux. If you’re not a fan of GUI Linux, you can run the following command-lines on your terminal shell to start, stop, and restart XAMPP on your Ubuntu machine.
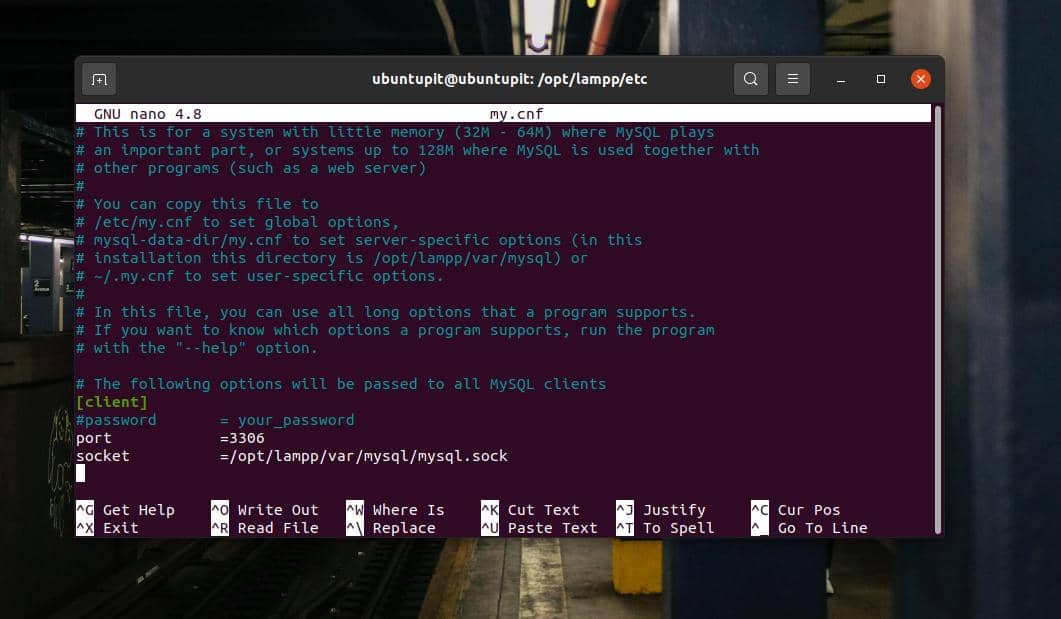
XAMPP’s configuration scripts are stored inside the /opt/lampp directory. You can open the /opt/lampp directory and look for the configuration scripts. Inside the /opt/lampp/etc/ directory, you will find all the configuration files. Open the file you need to edit. You should not mess up with the configuration scrips if you don’t know what you’re doing.
Here, as a demonstration of how to edit the configuration file, I’m showing how to edit the MySQL configuration script. As we’re already inside the directory, the following command will work perfectly to edit the MySQL script.
Step 5: Start Xampp
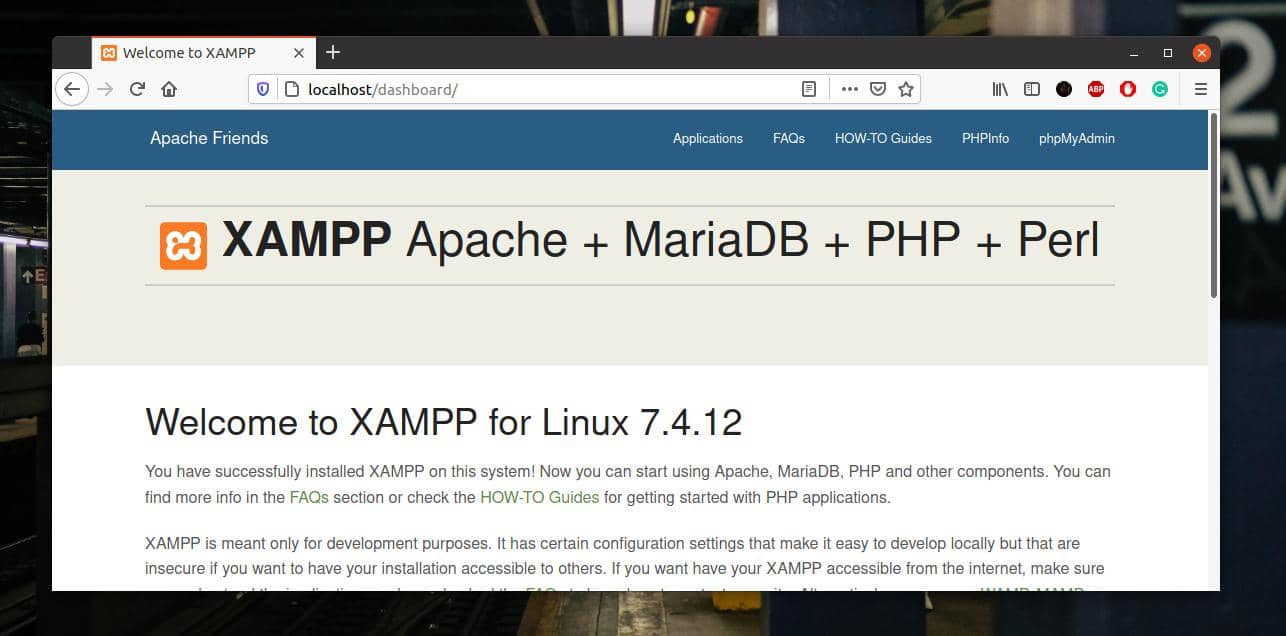
Till now, we’ve seen how to install and configure XAMPP on a Linux system. It’s time to get started with it. To open XAMPP on your Ubuntu Linux, you can open the following URLs on the web browser. The first URL will open the XAMPP’s welcome page, and the next URL will open the PHPMyAdmin page.
Step 6: Remove Xampp From Linux
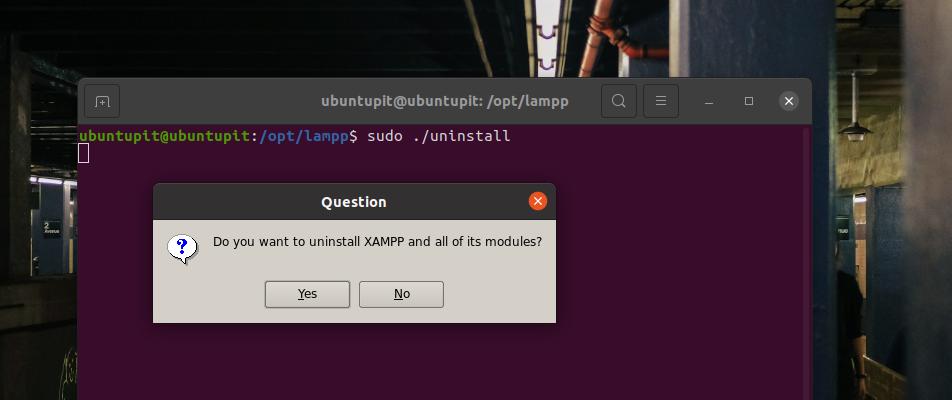
As I said earlier, XAMPP is an excellent tool for web developers and testers. You will love it when you get used to it. But sometimes, you might need to remove XAMPP from your Ubuntu Linux system. You can run the following command-lines on your terminal shell to remove XAMPP from your system.
Final Words
If you are a power Linux user and a developer, XAMPP can be one of the most used tools that you might need to install right after a fresh Ubuntu installation on your machine. In the entire post, I’ve illustrated the method of installing and getting started with XAMPP on a Ubuntu Linux system.
Please share this post with your friends and the Linux community if you find it helpful and handy. You can also write down your opinions regarding this post in the comment section.